How to Program Your Garage Door Remote: A Comprehensive Guide by Able Garage Door Repair

Introduction
Are you struggling to program your garage door remote? You’re not alone! Many homeowners in San Francisco, CA, face this challenge when it comes to managing their garage door systems. With the right guidance, programming your remote can be a breeze. This comprehensive guide from Able Garage Door Repair will walk you through the steps to successfully program your garage door remote, ensuring convenience and security for your home.
Understanding Garage Door Remotes
Garage door remotes are essential devices that allow you to open and close your garage door with ease. Understanding the different types of remotes and their functions can help simplify the programming process. Here’s what you need to know:
Types of Garage Door Remotes
- Fixed Code Remotes: These remotes transmit a specific code every time you press a button.
- Rolling Code Remotes: These remotes generate a new code each time the button is pressed, providing enhanced security.
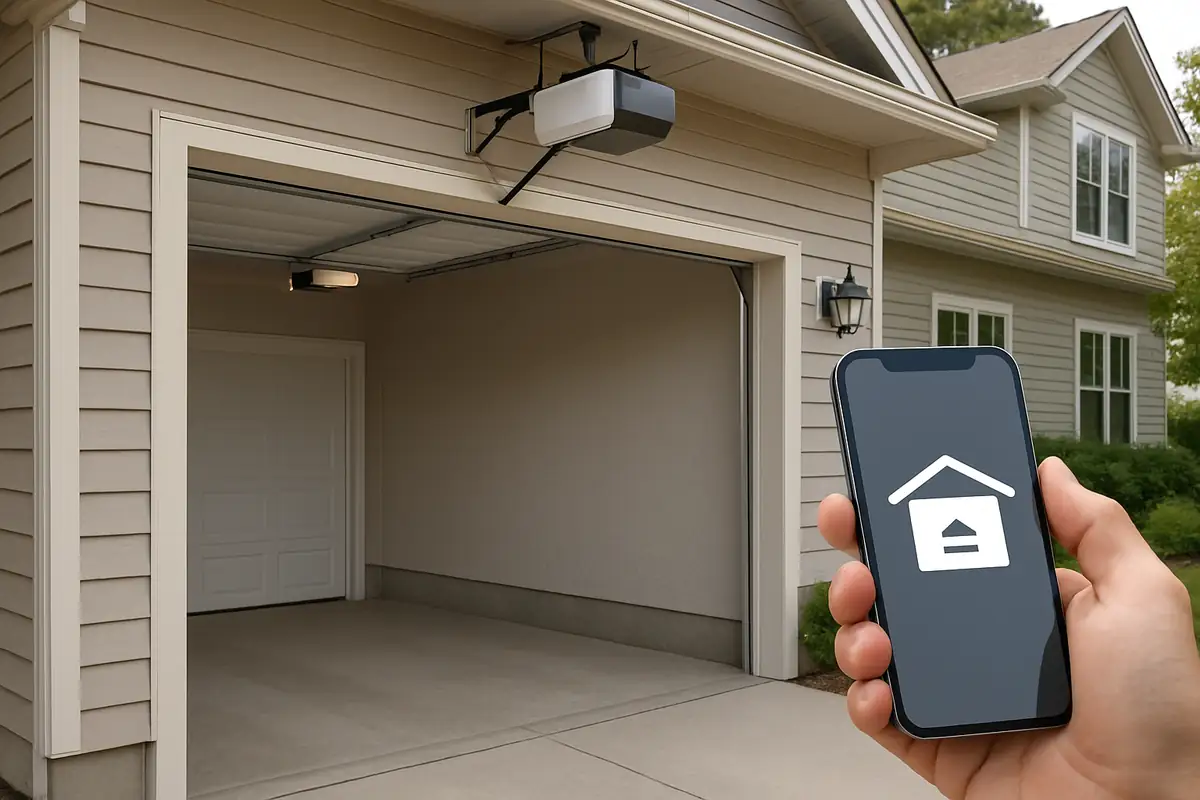
- Smart Remotes: These connect with mobile devices or smart home systems for seamless access.
Common Features
Aside from their primary function, many modern garage door remotes offer features such as:
- LED indicators for battery life
- Multiple button options for controlling multiple doors
- Keychain compatibility for convenience
Step-by-Step Guide to Programming Your Garage Door Remote
Now that you understand the basics of garage door remotes, let’s dive into how to program them. Follow these steps carefully for successful programming.
Gather Your Supplies
Before you begin, make sure you have:
- Your garage door remote
- The garage door opener
- A step ladder (if needed)
- A Phillips screwdriver (if required)
Step 1: Locate the Learn Button
Your garage door opener should have a 'Learn' button. This is typically located on the back or side of the unit.
Step 2: Prepare the Remote
Have your remote handy. Make sure the battery is functional, as a weak battery can hinder the programming process.
Step 3: Press the Learn Button
- Press the 'Learn' button on the garage door opener. The indicator light should turn on.
- Within 30 seconds, press and hold the button on your remote that you want to program.
- Release the button when you see the indicator light blink. This signifies that the programming was successful.
Step 4: Test Your Remote
Test your remote by pressing the programmed button to see if the garage door opens and closes.
Troubleshooting Common Issues
If you encounter problems while programming your remote, here are some troubleshooting tips:
- Ensure that you are within range of the garage door opener.
- Check the battery of the remote; replace it if necessary.
- Make sure you are following the steps within the recommended time frame.
- Inspect the garage door opener for any physical damage or obstructions.
When to Seek Professional Help
If you’ve tried programming your garage door remote several times without success, it might be time to consult professionals like Able Garage Door Repair. Here are some reasons to reach out:
- You suspect an issue with the garage door opener itself.
- Multiple remotes are failing to work.
- You’ve recently moved to a new home and need a complete system check.
Conclusion
Programming your garage door remote doesn’t have to be a daunting task. With this step-by-step guide from Able Garage Door Repair, you can easily regain control of your garage door. Remember, if you encounter any issues or need further assistance, our experienced team in San Francisco, CA, is here to help. Don’t hesitate to contact us for expert garage door repair services!
Explore More Resources
Related Articles
Service Areas
We proudly serve San Fransisco.
Our Services
Professional garage door repair, spring repair, opener installation and more. View all services →