How to Program Your Garage Door Remote: A Complete Guide from Able Garage Door Repair in San Francisco, CA

Introduction to Programming Your Garage Door Remote
Have you ever found yourself fumbling with your garage door remote, wondering why it just won’t work? You’re not alone! Many homeowners in San Francisco face this challenge. Programming a garage door remote is essential for the convenience and security of your home. In this comprehensive guide from Able Garage Door Repair, we’ll make the process straightforward and hassle-free.
Understanding Your Garage Door Remote
Before diving into the programming steps, it’s essential to understand what your garage door remote is and how it functions. Most garage door remotes operate using either:
- Fixed Code Technology: Uses a specific frequency that doesn't change.
- Rolling Code Technology: Changes the access code every time you use it for enhanced security.
Knowing the type of remote you have can significantly affect your programming process.
Why You Might Need to Reprogram Your Remote
There are several reasons you may need to program your garage door remote:
- New remote purchase.
- Changing batteries.
- After a power outage.
- Moving to a new home.
Regardless of the reason, understanding how to program your remote can save you time and frustration.
Step-by-Step Guide to Programming Your Garage Door Remote
Now, let’s get into the nuts and bolts of programming your garage door remote. Follow these steps carefully for a seamless experience:
Step 1: Locate the Learn Button
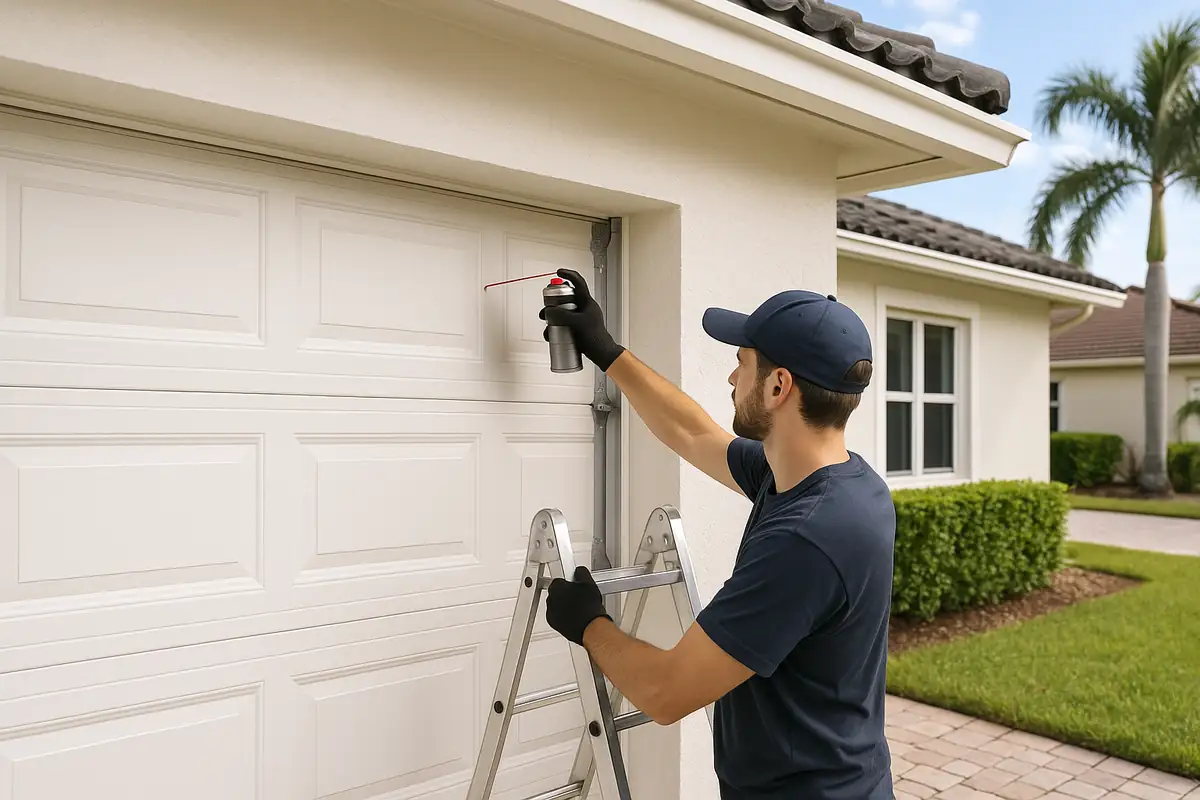
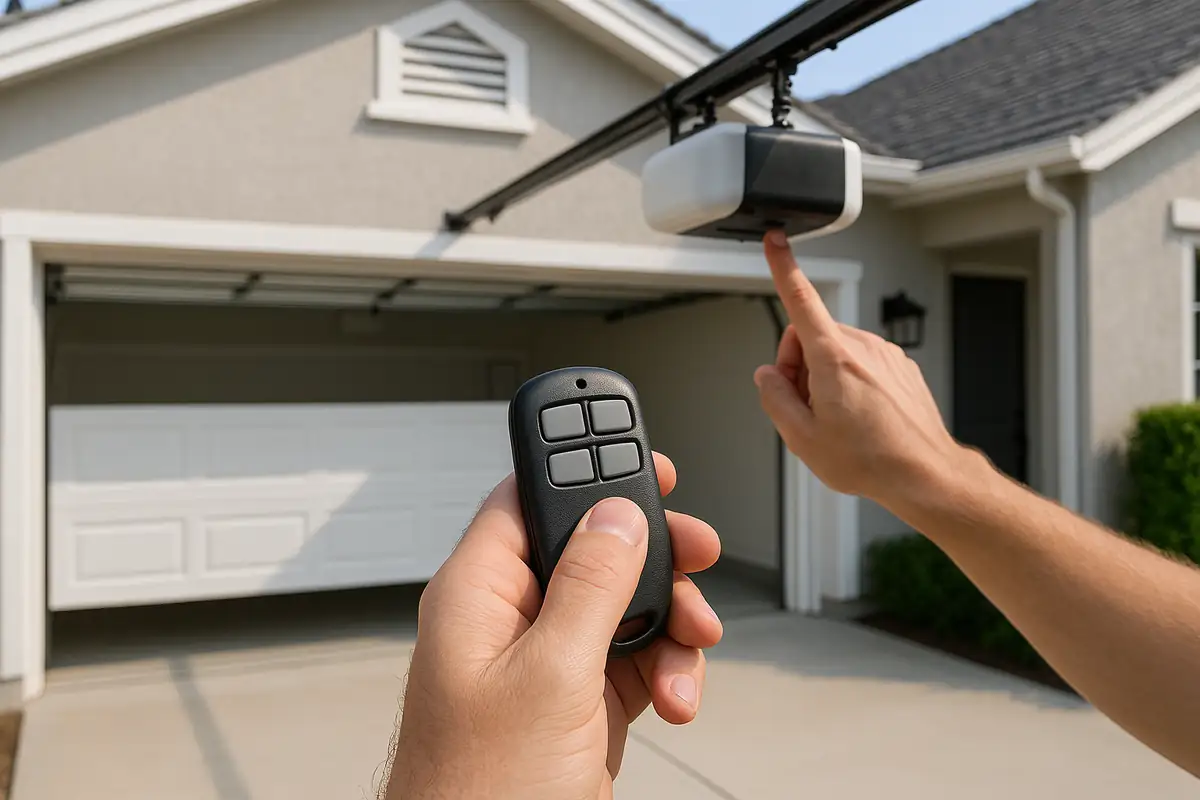
The first step involves finding the Learn Button on your garage door opener. This button is usually located on the back or side of the motor unit. Depending on your model, it could be a red, yellow, or purple button. Make sure you have a sturdy ladder if you need to reach high!
Step 2: Prepare Your Remote
Make sure your remote has fresh batteries installed. Old or low batteries can cause the programming process to fail.
Step 3: Programming Process
Now it’s time to program! Here’s a quick guide:
- Press and hold the Learn Button until the indicator light turns on.
- While the light is on, press and hold the button on your remote that you want to program.
- Release the button once the garage door opener light blinks or you hear two clicks. This usually indicates successful programming!
Step 4: Test Your Remote
After programming, it’s crucial to test the remote. Stand a safe distance from the garage door and press the button. If it opens or closes, you’ve successfully programmed the remote!
Common Issues and Troubleshooting Tips
Even with a guide, you might face some hurdles. Here are a few common issues and their solutions:
Remote Not Responding
- Check the batteries — replace if necessary.
- Ensure that you are within range of the garage door opener.
- Try reprogramming the remote.
Indicator Light Doesn’t Blink
- Make sure the Learn Button is pressed until the light is on.
- Inspect for any obstructions or damage to the garage door opener.
Statistics and Industry Facts
Did you know that over 70% of homeowners rely on automatic garage door openers? As a matter of fact, garage doors are one of the most frequently used entry points in a home. Ensuring that your garage door opener and remote are functioning properly is crucial for both convenience and security.
Conclusion: Trust Able Garage Door Repair for Your Garage Needs
In conclusion, programming your garage door remote may seem overwhelming at first, but with the right steps, it can be a simple task. Should you encounter any issues or prefer to have a professional handle it, Able Garage Door Repair is here to help. Located in beautiful San Francisco, CA, our team is dedicated to offering reliable garage door solutions tailored to your needs. Contact us today for expert assistance!
Explore More Resources
Related Articles
Service Areas
We proudly serve San Fransisco.
Our Services
Professional garage door repair, spring repair, opener installation and more. View all services →